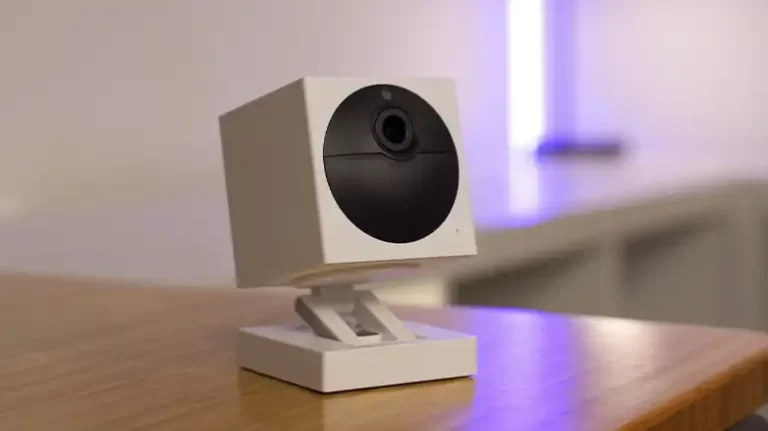
How to Setup a Conico Outdoor Security Camera
Installing an outdoor security camera provides an extra layer of protection and peace of mind for your home. The Conico Outdoor Security Camera is a popular wireless model suitable for monitoring driveways, yards, and building exteriors. Setting up the Conico camera properly ensures you get the most out of its surveillance capabilities. Here is a step-by-step guide to setting up the Conico Outdoor Security Camera.
Preparation for Installing
Before installing the Conico camera, take some preliminary steps:
- Unpack all components – camera, power adapter, screws/mounts, Ethernet cable, user manual.
- Fully charge the camera battery by connecting to power for at least 4 hours.
- Download the Conico mobile app and create an account if you don’t have one.
- Make sure your WiFi router is near the installation location or consider a WiFi range extender.
- Identify a mounting site with a clear, unobstructed field of view and within WiFi range.
- Gather tools – drill, screwdriver, ladder.
Thorough planning and prep work ensure a smooth Conico camera setup.
Mounting the Camera
Once prepared, it’s time to mount the Conico Outdoor Security Camera:
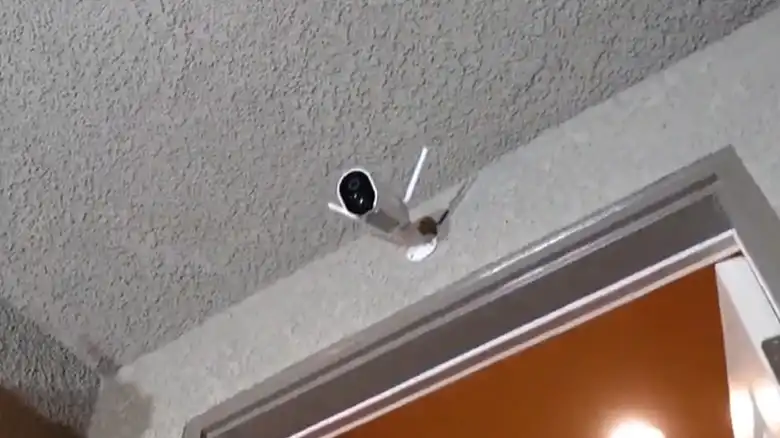
- Attach the provided mounting bracket to the wall or eave using the included screws. Make sure the mounting surface is solid.
- Adjust the angle and swivel of the bracket to direct the camera’s field of view towards the desired area.
- Clip the Conico camera securely onto the bracket. Cables should hang below towards the ground.
- For additional security, use the small screw opening on the camera swivel to permanently fix its position and prevent tampering.
Proper camera positioning gives you the best viewpoint without major blind spots. Mount out of direct rain or sunlight.
Connecting Cables (If You Have a Wired Conico Outdoor Security Camera)
With the camera mounted, connect the wiring:
- Take the Ethernet cable and plug one end into the RJ-45 port on the back of the camera.
- Run the cable to your WiFi router and connect it to an open LAN port on the router. This connects the camera to your home network.
- If running the cable into the house is difficult, consider a wireless bridge adapter.
- Connect the power adapter cable to the camera’s power input.
- Plug the adapter into an electrical outlet. The camera may power on immediately once connected.
Neatly route and secure any loose cabling to keep connections intact.
Connecting the Camera Wirelessly (If You are Willing to Connect the Camera Wirelessly)
If you are not willing to have wired hassle then you can go for wireless connectivity. You can do it by using the application named Conico or MIPC.
- Download the Conico app on your phone or tablet. You can get it from the App Store or Google Play.
- Create an account or log in to your existing account.
- Tap the + button in the top right corner to add a new device.
- Select Outdoor Dome from the list of devices.
- Follow the on-screen instructions to connect the camera to your Wi-Fi network.
- Once the camera is connected, you can give it a name and set a password for it.
Camera Setup in the App
The Conico app completes the installation:
- Launch the app and tap Add Device. Select the Conico camera model.
- The app will automatically detect the new camera on your WiFi network. Select it when discovered.
- Follow the on-screen prompts to finish pairing the camera to your Conico account. This allows remote access.
- By default, the camera adopts your WiFi network name and password. You can view or change wireless settings later in the app.
- Name the camera based on location (i.e. “Front Porch”). Tap Save.
- Placement tips will appear to help optimize the camera angle as needed.
And that’s it! The Conico camera is fully configured and ready to start monitoring.
Adding an SD Card (Optional)
While not required, inserting a microSD card into the camera’s card slot enables local recording and motion-activated video capture.
- Obtain a microSD card between 32GB and 128 GB. Class 10 or higher is recommended for smoother video.
- Locate the card slot on the underside or rear of the Conico camera. Gently insert the card until it clicks into place.
- In the app, enable options like Record Video Clips and Save Detected Motion Events. Adjust settings as desired.
- The camera will now store footage locally to the SD card when motion is detected.
Using an SD card augments remote viewing capabilities with on-device recording. Just remember to format new cards and check recorded video regularly.
Finalizing the Installation
To complete setup:
- Check live and recorded video feeds in the Conico app to confirm proper functionality.
- Enable push notifications to receive alerts when the camera detects activity.
- Set schedules, motion zones, and sensitivity to suit your needs.
- Check that the date and time are accurate on the video footage.
- Consider using a solar panel accessory for sustainable outdoor power.
- Point the camera at key areas and tweak the settings until you are satisfied with the performance.
Take time to properly test and configure your new Conico Outdoor Security Camera to unlock its full home surveillance potential. You now have an extra set of security “eyes” on your property’s exterior!
End Notes
Installing the Conico Outdoor Security Camera is straightforward when you follow the step-by-step process – plan the setup, mount the camera, connect the cables, pair with the app, add an SD card, and finalize adjustments. In just an hour or two, you can have a fully operational outdoor security camera providing 24/7 monitoring and motion-activated recording. Just be sure to locate your Conico cam in a spot with good WiFi coverage and an optimal viewing angle. With proper setup and positioning, you’ll gain peace of mind knowing your outdoor areas are protected.
People Also Ask – PAA
What kind of wall mount is best for the Conico outdoor camera?
The included swivel mount bracket provides versatility. Third-party wall or eave mounts also work if properly rated for the camera weight and outdoor conditions.
What distance should the Conico camera be from my WiFi router?
Ideally within 25-50 ft. for reliable signal. Consider a wireless range extender if needed.
Do I need to run an Ethernet cable for the Conico camera?
No, the camera can connect wirelessly to WiFi. But using the Ethernet cable instead provides a faster, more reliable wired connection.
How do I power the Conico camera if outlets are not nearby?
Optional solar panels can power the camera wirelessly. Just ensure proper sunlight exposure.

